It may not look like it, but I really do love my blog, and I really miss blogging regularly! Oh, to be able to publish blogs straight from my brain without the necessity of finding time to actually type them out… I’d really love to catch up by posting all the blogs I’ve written in my mind, share all the amazing (both good and bad) things that have been keeping my life anything but dull, but of course, the reality is that if I didn’t have time to write about them over the past two years as they happened, I’m never going to have time to catch everything up now. And maybe it doesn’t really matter. I mean, do you really want to know all the details about what was happening in my life two years ago?
That’s what I figured. 😉
So, I’m going to do a capsule summary and share more about stuff if it happens to be germane to a future post. With no further ado and in no particular order…
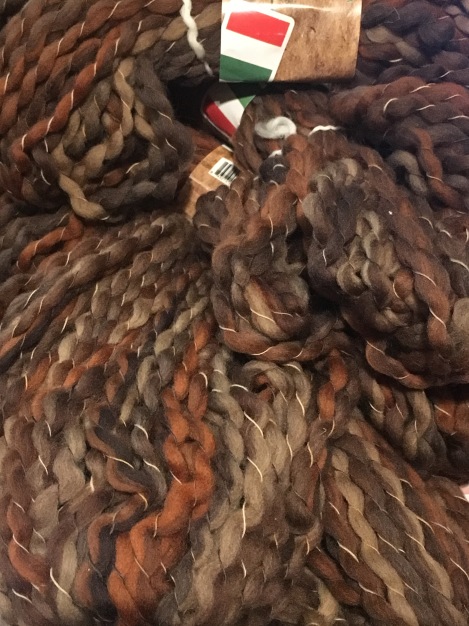
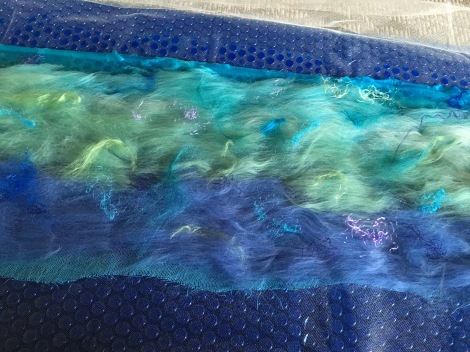
Yes, despite what the sidebar shows, I’m still knitting and spinning, though especially in 2013, my production was dramatically down. Why does time have to be so finite? Maybe I’ll be able to share some of my favorite finished projects with you in the future.
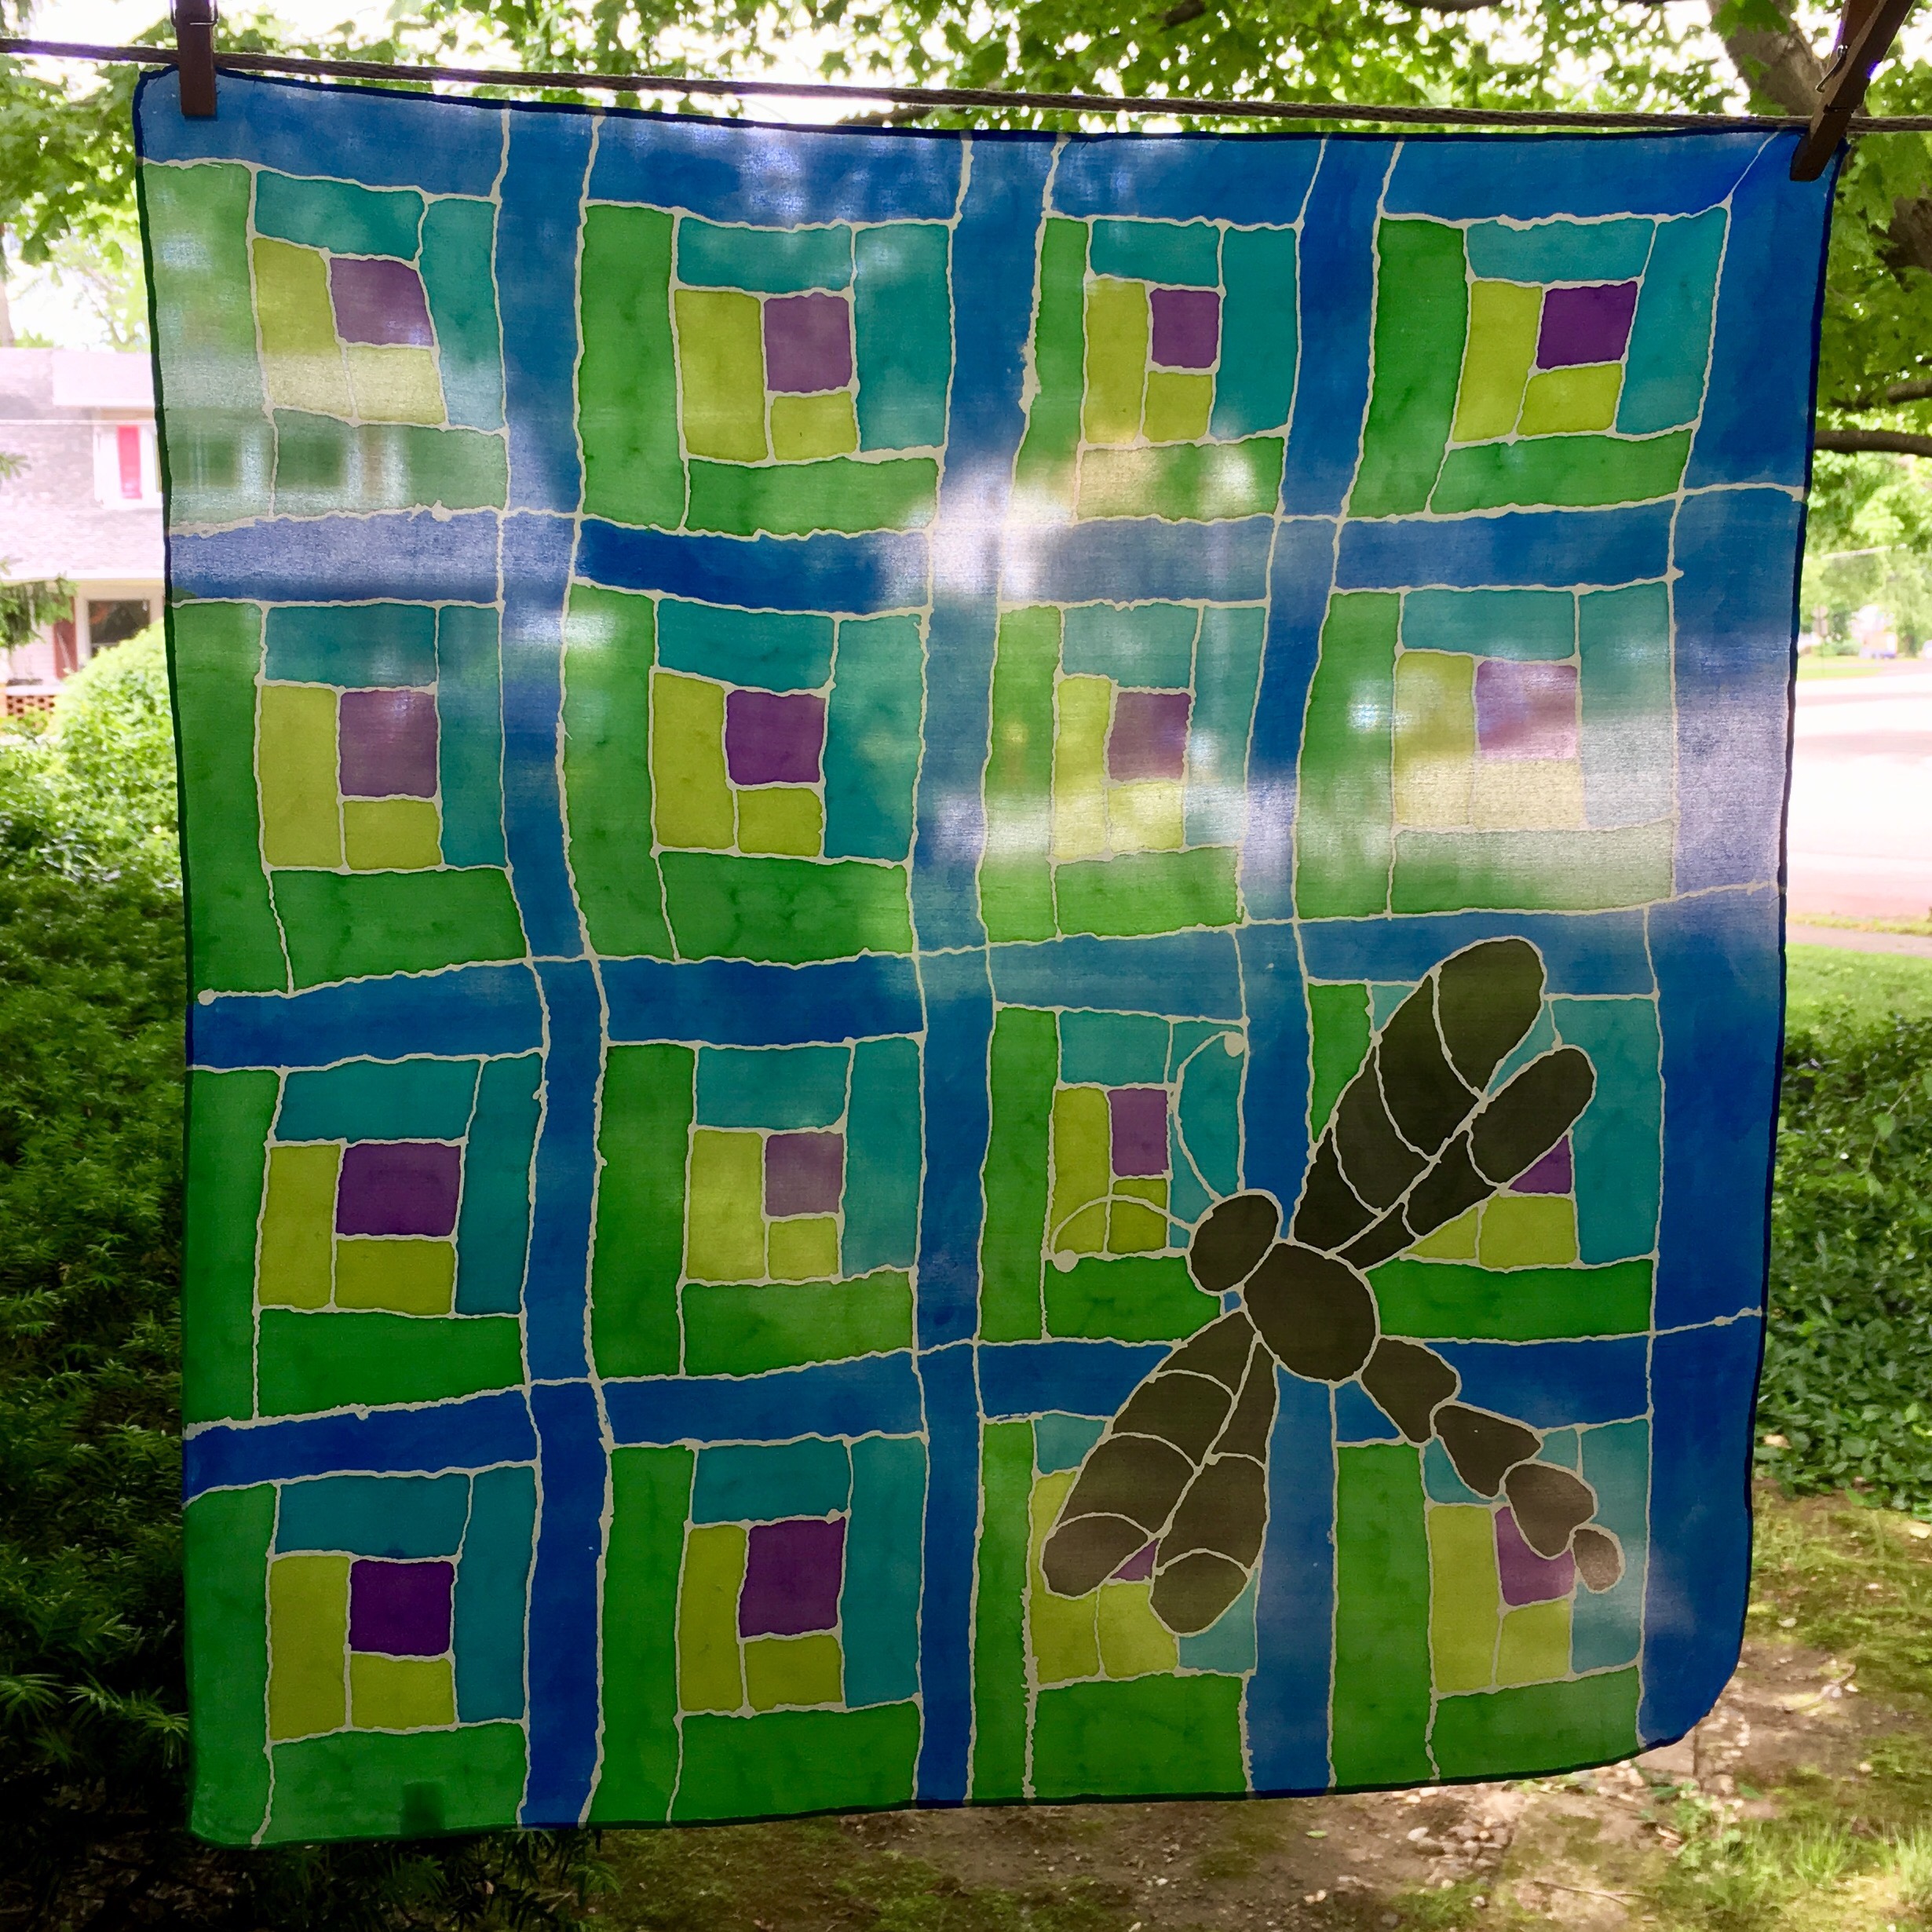
I’m also now weaving somewhat seriously instead of just dreaming about it a lot. 🙂 I’m loving it and sure wishing for more time! I’ll share some of what I’ve been making in future posts. I still have to take pix – when I find the time…
I was introduced to Geocaching in January of 2012. I took to it like a duck to water, and though he didn’t fall headlong quite so quickly, hubby eventually caught the bug, too, making it the one hobby we enjoy together. In my first two years, I’ve cached in 11 states and over 125 counties, and am approaching my 2000th find soon. I will add that this winter has been brutal for geocaching, and I’m really glad that I completed my 1 year streak, finding a geocache everyday for 366 straight days, last spring instead of doing it over THIS winter! Whew! In addition to hunting caches, I’m really enjoying placing them when I can find the time. My favorite placements are the puzzles I’ve created, and this past Saturday, my most recent one, Alley Cats, was published just after the caching event I hosted. Like so many other areas of my life, my ideas far exceed the time I have available. I probably have another year’s worth of puzzle ideas queued in my head!
A fellow cacher introduced me to pathtags about 2 months after I found my first geocache, and another addiction was born. I’m waiting for delivery of my 30th design right now and have several more in the works. That doesn’t count all the designs bopping around in my brain.
I finally got to Wisconsin for the first time in my life last June. Beautiful state! I can’t wait until we can go back again for longer. One step close to Bucket List item of visiting all 50 states…
By some miracle, we made it clear through 2013 without a death in the family – primarily our furry family being the concern. With 4 chronically ill pets on a total of 7 for-the-rest-of-their-life prescription meds, and the dog now being nearly 5 years over her life expectancy, we never dreamed we’d still have the entire menagerie into 2014. That’s about to change, though, as sweet, timid Smokey Jo is bravely padding her way toward the Rainbow Bridge as I type this. Her little body is just too tired to go any longer, so she’s going to join her brother, Tyg, probably within hours. As sick as she’s been, I thought this loss would be easier. I was wrong.
Another loss that wasn’t so easy to bear was the death of my sweet, stubborn father-in-law. He lived 91 really good years and 19 really lousy days, blessed in both, we feel. His death hit me far harder than I ever imagined, and though I wanted to blog a eulogy for him, I found myself totally unable to actually put it into print. Honestly, that was when I really slipped out of regular blogging – and many of my regular life activities. (I’d hate to tell you how many thousand unread emails my inboxes are currently harboring, and I just can’t seem to catch up…)
I discovered Megapolis and HayDay – probably mostly to my detriment, but such fun…
I also discovered Craftsy. For the most part, totally awesome, except they have condescended to partnering recently with a yarn company I don’t admire. Also, if you order multiple skeins of yarn from their supply section, they won’t guarantee matched dye lots, so caveat emptor. I’ve been on the phone several times over that particular problem and will notate my order in the future to cancel my order if they don’t have matching lot numbers. Otherwise, I’ve really been having fun with the site and have completed or at least partially completed a number of classes now, including Tunisian Crochet, Double Knitting (have done before, but learned some great new techniques), basic rigid heddle weaving, and making my own lip balm, body butter, and salves, among others. I’ve signed up for quite a few that I’ve not watched or that I have viewed without doing the projects yet, and have found them to all be very well done. Check out craftsy.com when you get a chance, and sign up for their newsletter to get all sorts of specials. I chose a new class last night on a special offer that let me pick any class on the site for $19.95. For lifetime access and great quality, that’s a fantastic bargain, and with everything from cooking to fiber to sewing to fine arts and photography, there’s something to appeal to pretty much every creative spirit. Oh, and they also have quite a few free classes available!
Hubby cracked the floor of his shower, so the kitchen ceiling is soaked and collapsing yet again. It’s a true thorn in my side! For now it means a bucket on the kitchen floor under the split. Eventually it means he’s going to get his bathroom remodeled for the second time whilst I wait impatiently for the first time for mine. Sigh…
My reading record last year was more dismal than it has ever been. Thankfully I’m off to a much better start this year!
I also started out last year with the delight of music, as I resurrected my dulcimer, dug out my Irish whistle, upgraded my flute, and finally got a violin. Things were busy, but delightful for a few months, then life gave me too much else to deal with, so they are all waiting patiently for me to come play again. For now, the whistle, which lives at my computer desk and can be picked up and tweedled for a moment here and there, is by far the happiest of the lot.
And I’m now sponsoring 5 little girls through Compassion International, the newest of which shares both my name and birthday. So much for saying 4 of them would be more than enough. 😉
Okay, that’s enough for now, I think. Besides, I can’t think of anything else to add to the list, though I’m sure I’ll have more the moment I publish this. Isn’t getting older a wonder? 😀